Step by step guide on how to flash bootloader on your arduino pro micro.
Pin Diagram
ARDUINO UNO – ARDUINO PRO MICRO CONNECTIONS
- Connect the Arduino Uno 5V pin to Arduino Pro Micro VCC pin (red wire)
- Connect the Arduino Uno GND pin to Arduino Pro Micro GND pin (black wire)
- Connect the Arduino Uno Pin 13 to Arduino Pro Micro Pin 15 (blue wire)
- Connect the Arduino Uno Pin 12 to Arduino Pro Micro Pin 14 (green wire)
- Connect the Arduino Uno Pin 11 to Arduino Pro Micro Pin 16 (yellow wire)
- Connect the Arduino Uno Pin 10 to Arduino Pro Micro Pin RST (white wire)Image below shows how I connected the two boards based from the connections above:
LOADING THE ArduinoISP SKETCH TO ARDUINO UNO
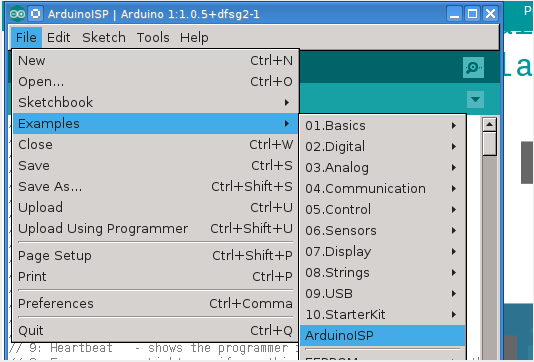
Open the Arduino IDE. Then go to File > Examples > ArduinoISP > ArduinoISP. Please see screenshot below:
Now, plug the Arduino Uno to the computer, select the port where the Arduino Uno is connected to, and upload the sketch. Screenshot below shows that the selected board is Arduino/Genuino Uno and the port (yours could be different):
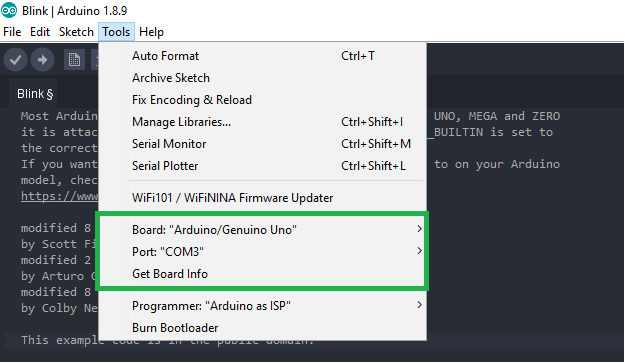
Now, upload the sketch.
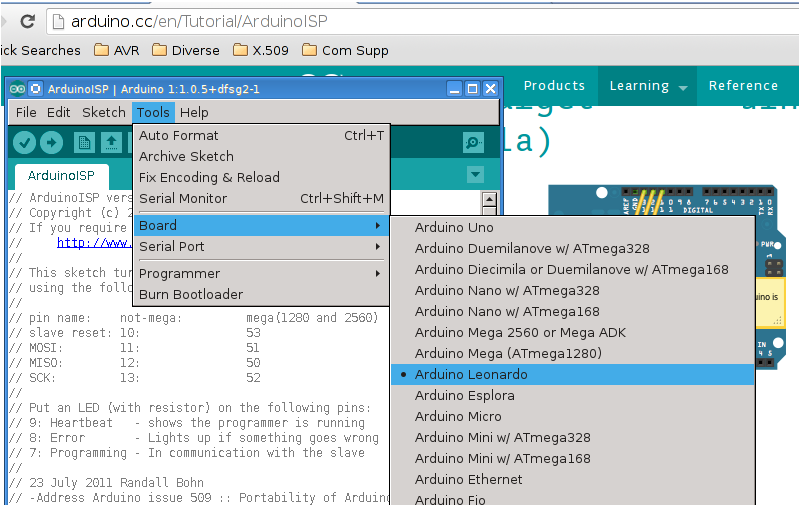
BOOTLOADER BURNING Now that the Arduino Uno is programmed to be an ISP (ISP stand for Is-System Programmer), we are now ready to burn the bootloader to the Arduino Pro Micro.From Tools > Board, choose Arduino Leonardo:
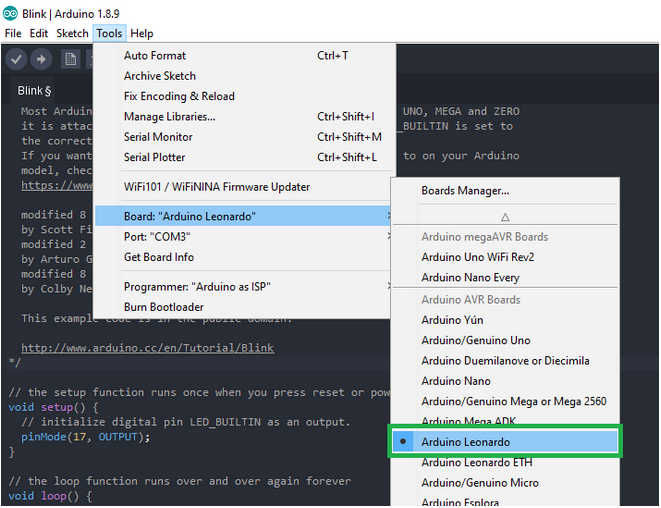
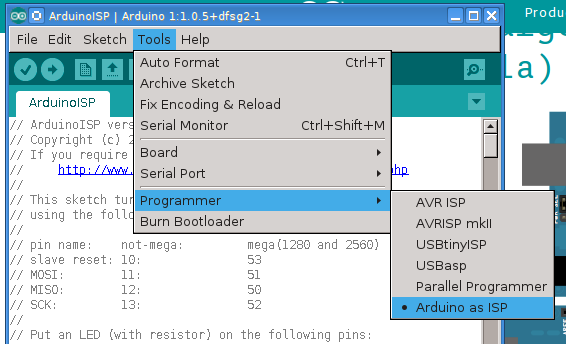
Then we select Arduino As ISP from Tools > Programmer:
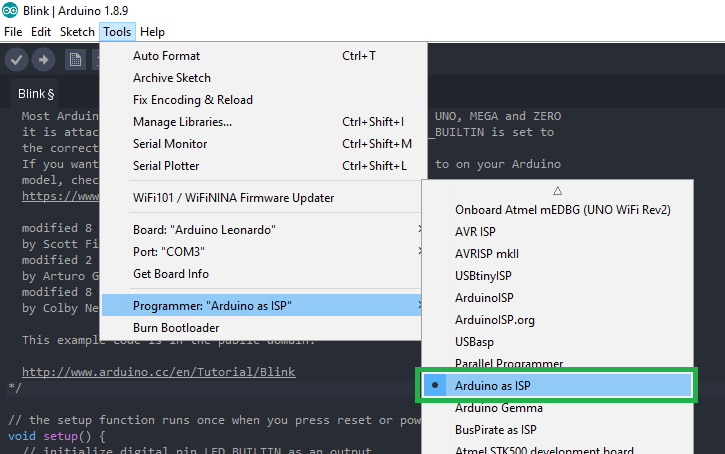
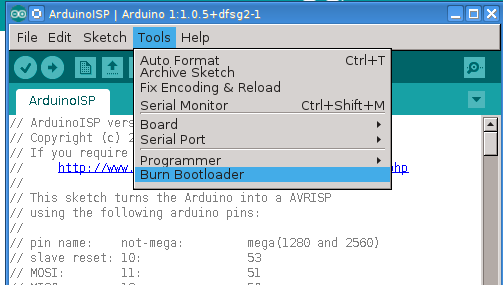
The last step is to burn the bootloader, by going to Tools and clicking Burn Bootloader. Wait for a minute, until the process is done:

While the process is burning the bootloader is taking place, you should see the Arduino Led, the TX Led and the RX Led blinking. Once the process is done, a message similar to the screenshot below is shown:
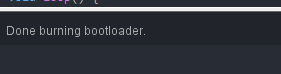
Now that the process of burning the bootloader is done, try connecting the Arduino Pro Micro to the computer and upload the Blink sketch (by the way, there isn’t any built-in LED on my Arduino Pro Micro, but I used Pin 17 to blink the RX Led).
This article serves as my documentation in case I forget what I’ve done to “revive” my Arduino Pro Micro. I haven’t tried this method in my other boards, as all of them are still detectable.